INTERNATIONAL SHIPPING
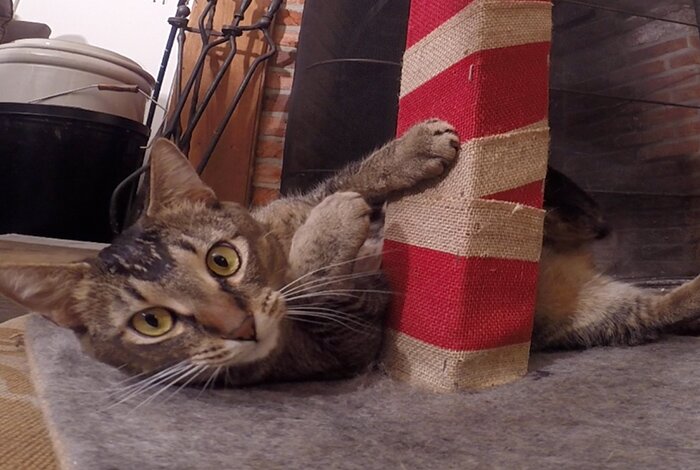
DIY Cat Scratching Post
If you have a cat that loves to play, you most likely have a cat scratching post in your home. While scratching posts are a great way for cats to get exercise they can often be annoying to assemble and can be expensive. In our latest “Things You Didn’t Know You Could Do With a Rug Pad” blog series, we have created an easy DIY cat scratching post that your cat is sure to love! Check out our video tutorial above and read below for a more detailed description!
Supplies: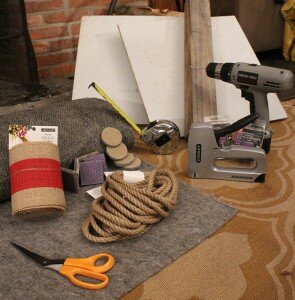
- 2 Square Wood Boards – 18’ x 18’
- 4×4 Wood Post
- Sisal Rope
- Decorative Burlap
- Superior Rug Pad Scrap
- Super Hold Rug Pad Scrap
- Screws and Drill
- Ruler/ Measuring Tape
- Staple Gun
- Scissors
- Hot Glue Gun
Step One: Measure and Cut Your Supplies
For my DIY cat toy I want to use up any scrap I had leftover from previous projects. We had a plywood board around the house, that we cut in half and made two square platforms. For the support, we used a wood post that was 4″x4″x2′ because I had it lying around. If you live in a smaller apartment or home, I suggest using a shorter post. Once you measure and cut your post and platforms, it is time to measure the rug pad. We measured three pieces of our Superior rug pad to be the same size as my platforms. Next, we measured one Super Hold rug pad to fit on the bottom of my base platform. The Super  Hold acts as a non-slip surface for the cat toy so your toy will not move around no matter how much your cat plays with it. The Superior rug pad acts as an excellent scratching surface for your cat and is comfortable enough for your cat to lounge on.
Step Two: Secure Rug Pad
Once you have measured out all your rug pads it is time to attach the rug pad to your platforms. Using a staple gun, secure the rug pads to both sides of each platform. Remember to use the one side that has the Super Hold rug pad for the base of your cat toy. We put staples all along the edges of the platform to ensure the rug pad stayed in place.
Step Three: Attach Sisal Rope to Edges
Using a hot glue gun, attach the sisal rope to the edges of your platforms. This will hide any of the exposed wood and make the edges of your toy look more finished. If you want something more colorful to match the decor of your home, try your favorite ribbon along the edges instead!
Step Four: Wrap and Secure the Burlap to the Post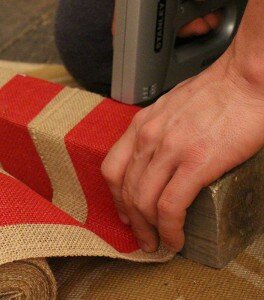
Now that you have both your bases ready, it is time to move on your post! I had leftover burlap ribbon in my home from a previous craft project, so I simply used that burlap and wrapped it around the entire length of the post. If you don’t have burlap ribbon handy you can use sisal rope, more rug pad scrap, burlap scrap, or any other rough fabric that your cat will love to scratch at! We simply wrapped the fabric around the post and stapled as we went. For the post, we tried to use less staples than the platforms because I did not want my cat’s claws getting caught while he played. So far, I have not noticed any problems and the burlap has stayed in place.
Step Five: Attach the Post to the Platforms
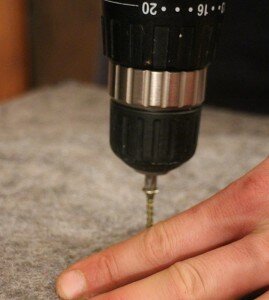 One your complete your post it is time to attach the post to the platforms. Measure your base platform first and find the center. Place the post in the center of the base and flip it over to screw in from the bottom. Your post should be on the side with the superior rug pad and the green Super Hold rug pad should be facing up. Using construction screws and a drill, secure the post to the base. We started off by using shorter screws but ended up having to switch to construction screws to secure the post in place. Once the post has been screwed into the base, repeat the process for the top platform.
Step Six: Add Toys or Tassels
After your post is secured to both platforms it is time to add any extra pieces to your cat toy! I had left over sisal rope that we used to make little tassels. Using my staple gun, we attached the tassels to the underside of the top platform, so they would hang down. My cat absolutely loved the addition of the tassels. If you don’t have enough rope to make tassels, try adding little hanging pom poms or other toys, anything that will grab your cat’s interest. If you want to expand your cat toy by adding other levels feel free! Simply repeat the steps above with various sizes of platforms and post and you can have a cat tower in no time!
Set up and Watch Your Cat Enjoy!
Find a good location where you can set up your cat toy, giving your kitty space to play! You can mist with catnip to make your cat fall in love with his or her new toy!