


 INTERNATIONAL SHIPPING
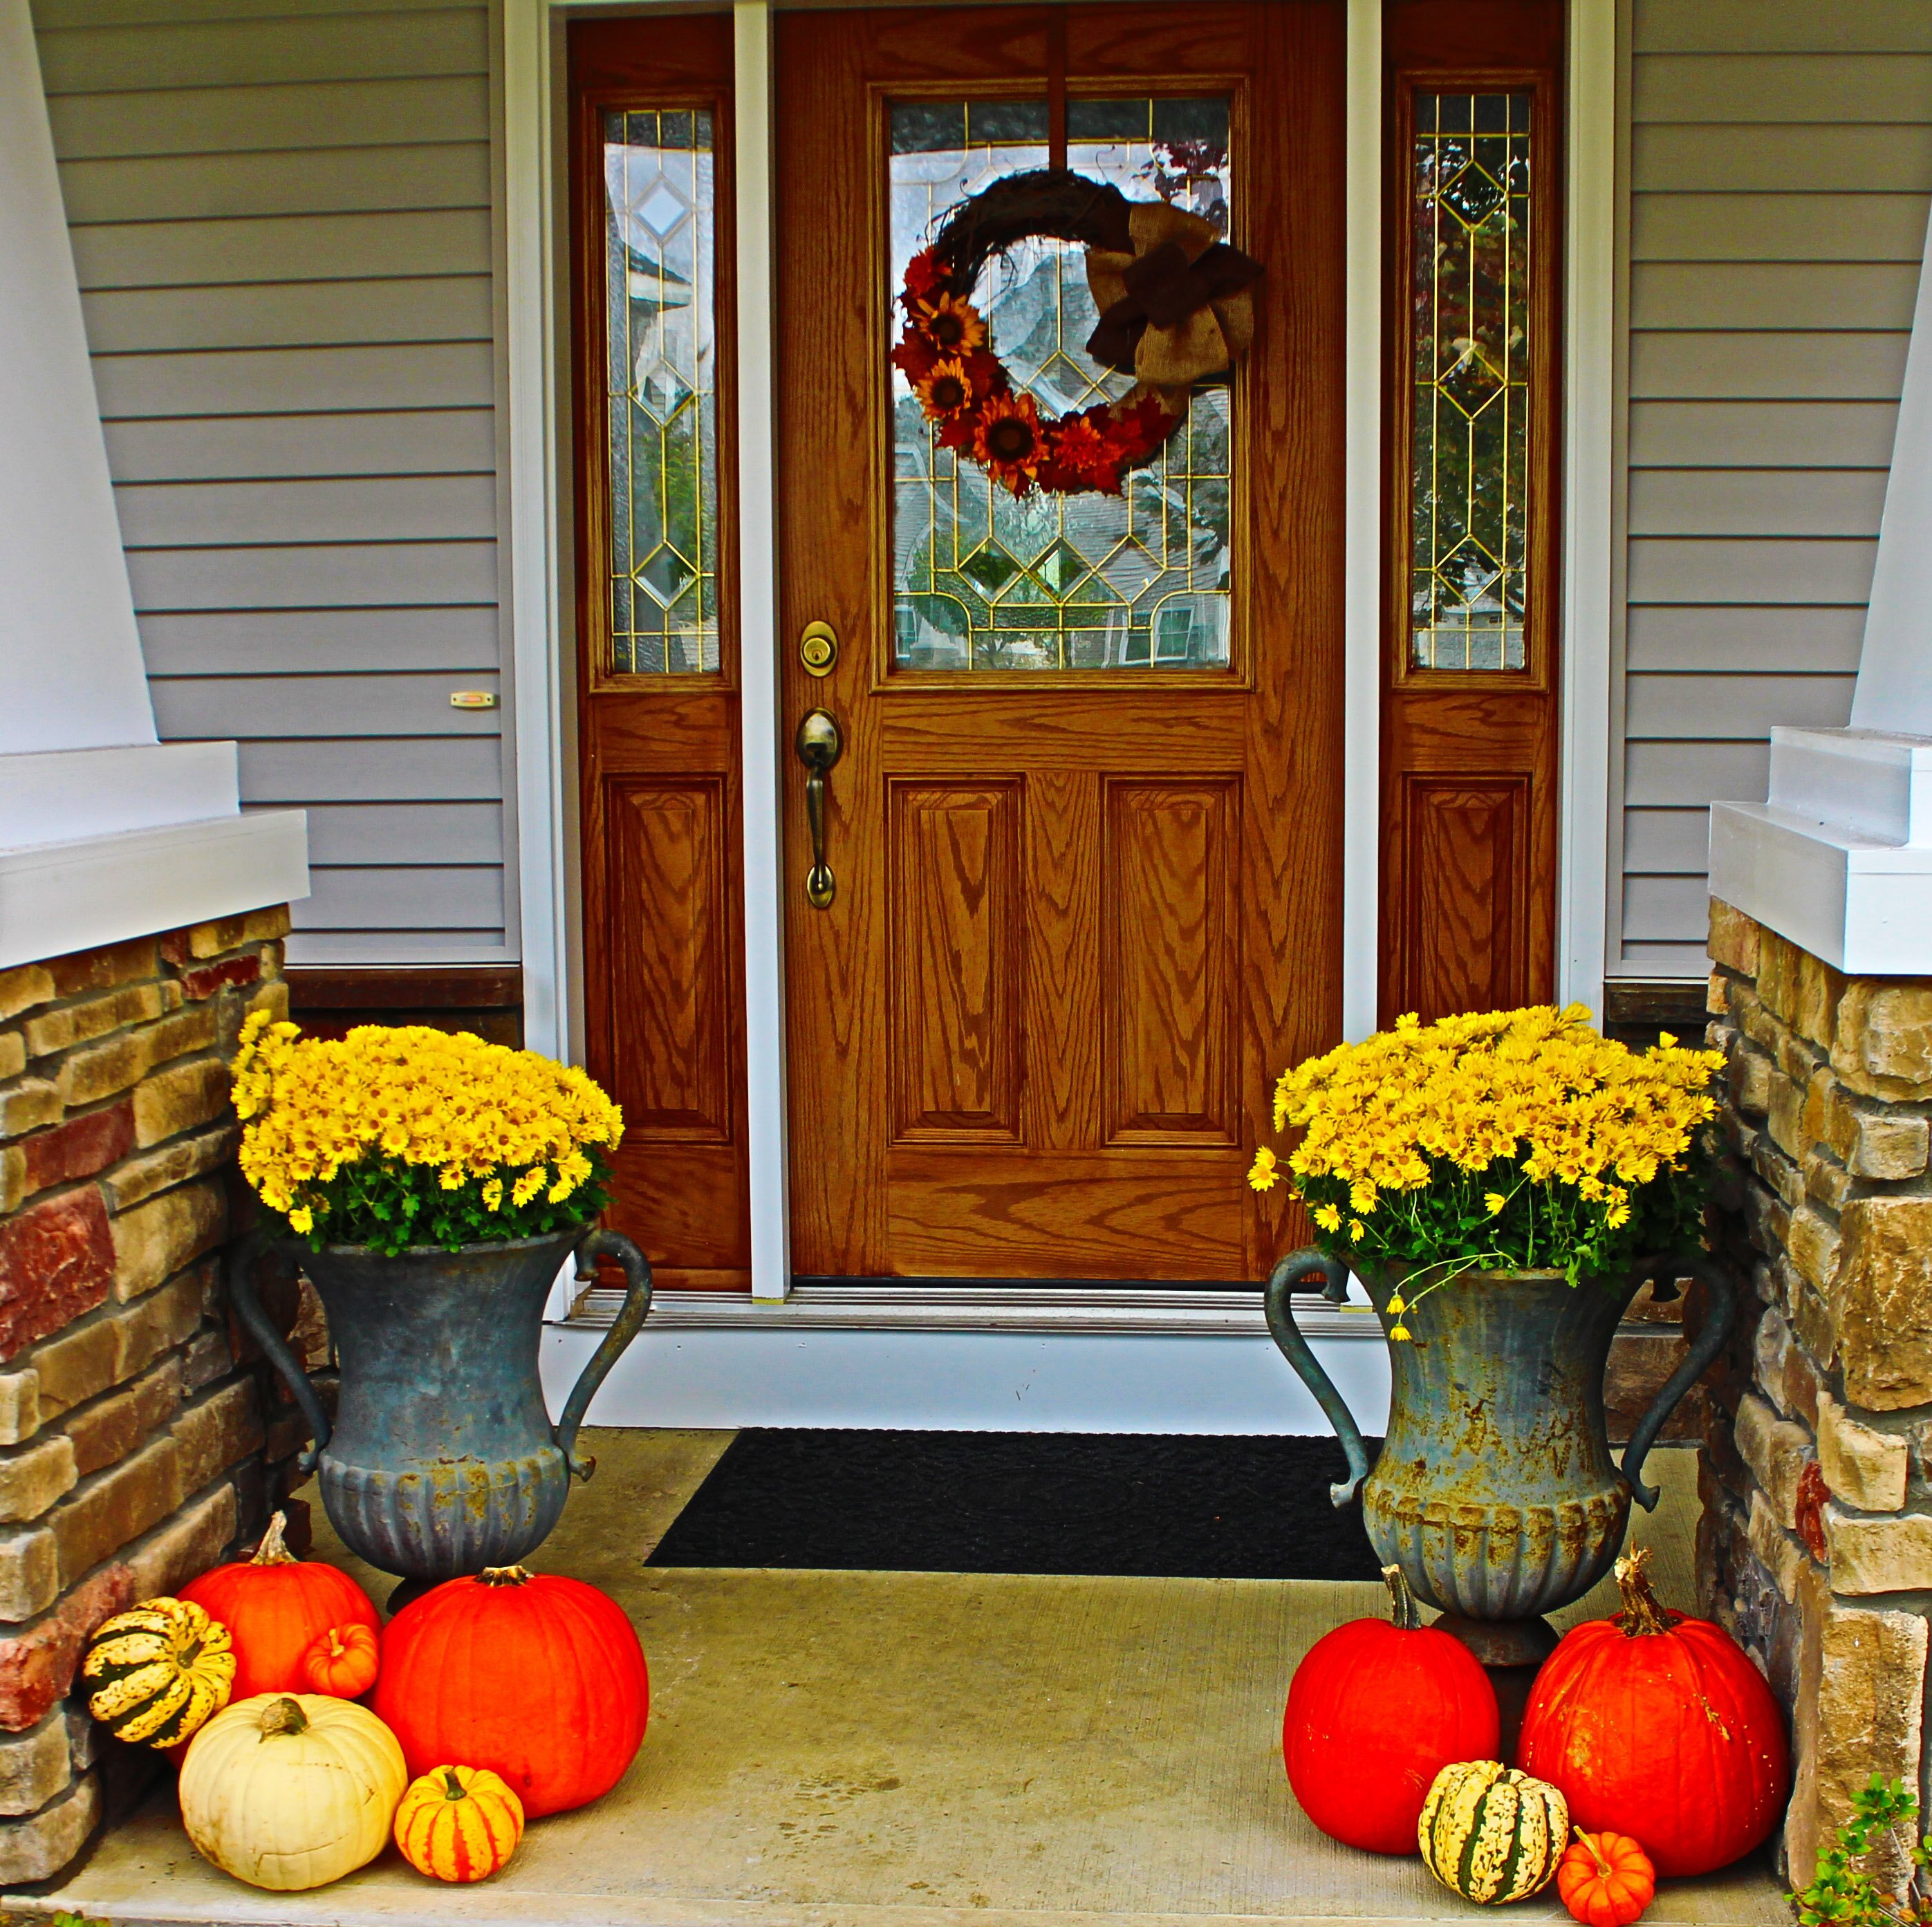
Create the Perfect Fall Entryway
Update your home this fall so you can stay up to date and festive! While most of the focus is placed on preparing the dining room and living spaces for guests, it is essential to not forget the entryway when updating for the season. The front door is the first thing that people will see upon arriving, so why not make it as warm and inviting as the rest of your home?
The Outside
Bring a bit of color to the space with some beautiful fall flowers. Mums, aster, and pansies are bright flowers that will endure the fall chill. Incorporating pumpkins, ornamental kale, and gourds to the outdoor entryway is another great way to bring color to the front steps and are perfect for the fall weather! Creating a mix of flowers and pumpkins is the perfect way to make a warm and inviting atmosphere for guests. For my entryway I used bright yellow mums and a combination of pumpkins and squash. I tried to mix up the colors by using white pumpkins and sweet dumpling squash. By getting a variety of shapes and sizes of pumpkins and gourds you can create added interest to your entryway.
 To complete the entryway, consider adding a fun decorated wreath to the front door. Simply buy a plain wreath and add subtle fall touches such as maple leafs, or fall flowers, or make a wreath of your own! For this wreath I used a plain grapevine wreath and wrapped part of it in burlap. Then I used fake leaves and flowers to add some color along one side and to top it all off I added a lovely burlap bow. Including a decorated wreath is a great way to create variation in the entryway design and allows for pieces to be interchanged as the season progresses. If you want more fall wreath ideas check out our fall floral wreath blog! Don’t forget to add a entryway mat and rug pad to prevent feet from tracking in dirt and mud.
The Inside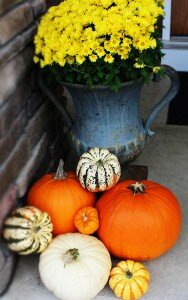
After finishing the outside try moving your look inside to complete this fun and festive look! When setting up the front entrance it is crucial to consider the weather that comes along with the holiday season. To protect the front room from dirty and wet shoes consider including an area rug that is easy to clean and a rug pad to make sure your rug doesn’t move around. Also, strategically position a coat rack or umbrella stand closer to the door so that guests can remove their wet gear before entering the rest of the house. It is important to include a pair of chairs or a bench for the entryway. This creates a space for guests to remove their shoes without making a mess of the floors. If you have a foyer table, fall is the perfect time to create a warm inviting atmosphere with a beautiful fall foliage centerpiece! Consider adding a large vase of fall flowers as a lovely focal point for the foyer table, it is an excellent way to bring all the outdoor fall colors into your home. Using a bright bouquet of fall flowers in the entryway design is a great way to incorporate fall design without going overboard.
With the arrival of the holiday season comes the ideal opportunity to revamp your home’s style. Before guests arrive be sure to create an inviting space for all to enjoy. One of the best ways to do this is by adding simple fall touches to the front of the house. By taking into account these simple tips you can create a warm entryway space that everyone will love!
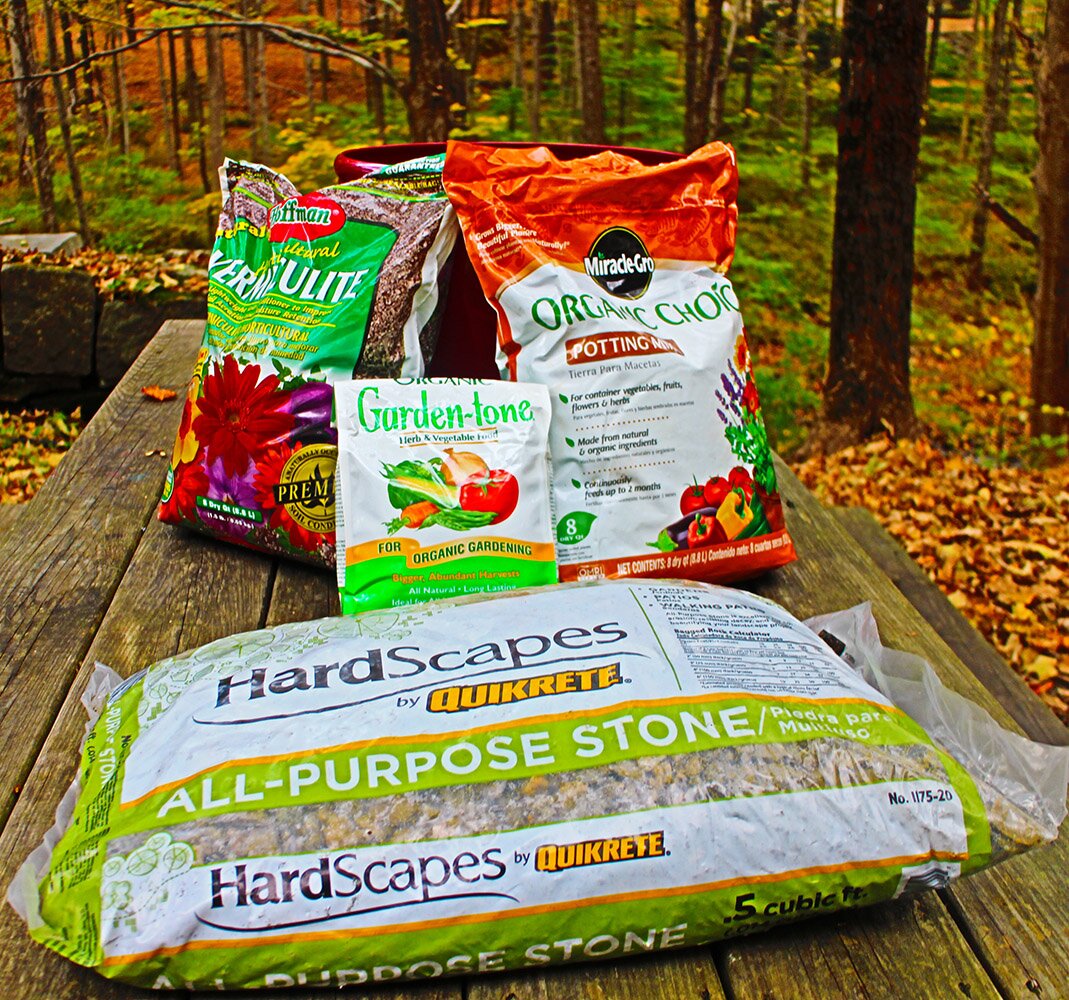
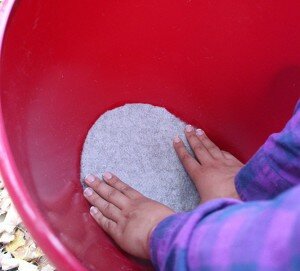
 Step One: Picking Your Planter
 Step Three: Adding Your Plants
 branch out and take hold in their container.

 Choose the Right Rug
 legs hang off the rug. This type of placement is perfect for a traditional space and helps to create a border for the room. If you are working with a larger space or an open floor plan, consider splitting up the seating areas. This creates greater intimacy and will make conversation flow more easily. If you are concerned with the seating areas looking disjointed, try using matching area rugs and an
  As we said earlier, a rug is a great way to bring pattern and interest to a traditional living room. Most traditional living rooms have neutral furnishings. Keep the room from becoming boring by using a unique texture or pattern. Chevron is a bold print that can be used on an area rug to bring interest to a traditional space. If Chevron seems like too bold of a pattern for your tastes, try a smaller pattern or an oriental rug. Small patterns add interest but also will not drown out the rest of the room. Despite their bold patterns, oriental rugs fit perfectly in any traditional living room. The mix of colors in oriental rugs allow them to be matched with any colored furniture or accessories. If a pattern really isn’t your style try a textured rug like jute or sisal. A jute rug is a great way to bring texture to a bland room. The neutral tone of these rugs fit perfectly in a traditional living room and do not take away from the overall theme.

 Combining Texture


