


 INTERNATIONAL SHIPPING
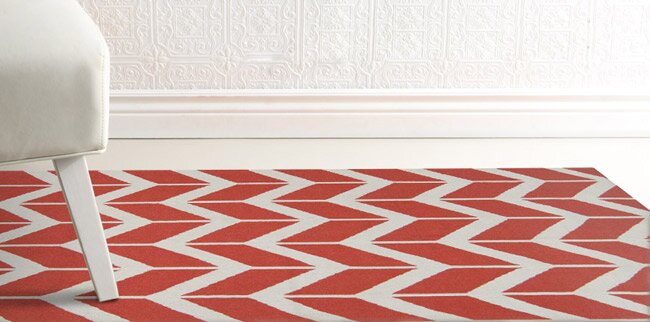
How To Care For Flatweave Rugs
Flatweave rugs are just that – flat without any thick pile to speak of and are either handmade or machine made. Since they contain less material than more traditional thicker rugs, flatweave rugs require specific care to prevent unnecessary wear and damage to the rugs.
Flatweave rugs such as needlepoint, kilim, soumac and aubusson, offer a very unique and distinct look – Unlike thicker rugs, flatweaves can almost look like a painting on the floor. This is due to their flatter nature, as well as their weave, particularly within finer handmade flatweave rugs. Since this type of rug has no pile to speak of, if not properly cared for, a flatweave rug can easily experience wear and damage. It is important to know what to do to assure the protection of the rug so that it lasts as long as it should and maintain its beautiful appearance for just as long.
Keep Rug as Flat as Possible on Floor
 It is fairly common for flatweave rugs to wrinkle and buckle more than other rugs. Flatweave rugs are more flexible, or supple, than others because there is less material within the rug. If a rug wrinkles and then someone walks on the wrinkles, this leads to wear in those wrinkled sections. Keeping your flatweave rug as flat as possible will prevent wear to certain parts of the rug and this keeps the rug looking good and maintains its condition.
Since flatweave rugs tend to wrinkle as a result of them slipping, use of a quality non slip rug pad prevents slipping and can then prevent wrinkles within the rug. Non slip rug pad is used under flatweave rugs to keep them as flat as possible to prevent dangerous slipping, as well as unnecessary wrinkles. The rug pad should actually be able to prevent the rug from slipping on top of the pad, as well as prevent slipping directly on the floor. Be sure to choose an effective felt and rubber rug pad to protect any flatweave area rug.
Keep Rug Anchored by Furniture
When possible, place some furniture on your flatweave rug. This can add a decorative look to any room, as well as extra safety. Furniture will add the anchor necessary to prevent common slipping and keep flatweave rugs in place on the floor. While it is not necessary to place all furniture on the rug, placing partial pieces can be all the anchor that is needed to keep flatweave rug flat.
 Prevent Unnecessary Traffic
There are rooms in which the rug is placed under heavy traffic, such as in a cut-through connecting two rooms. In this case, the rug is exposed to excessive traffic, which can be cause for wrinkles, slipping and soiling of your flatweave rug. It is smart to try to position the rug deeper into the room to avoid being in the main through traffic pattern. When foot traffic passes over the rug, it can place pressure on that part of that rug – Since the flatweave rug is flexible, it can actually wrinkle just from the pressure of foot traffic. Here, again, it is best to prevent excessive traffic by repositioning the rug so that it is not in a heavily used area.
Rotate Rug Annually
Whether or not part of your rug is exposed to a traffic area, it will most likely experience and show wear on some parts more than other parts. For this reason, it is smart to rotate your rug. Rug rotation can significantly reduce and possibly prevent uneven and premature wear to parts of the rug. Rotate your flatweave rug about once a year by removing any furniture from the rug and turning it in either direction so that the sections of the rug are not in the same area as before the rotation. Be sure to make a note of the direction of rotation, as this will be necessary to know for the next rotation.
Spot Clean Immediately
Rugs with a thick pile are somewhat more forgiving than flatweave rugs in terms of stains and spills. On that note, flatweave rugs can soil much faster than their thicker counterparts and should be cleaned as soon as a spot is noticed. The pile of most flatweave rugs contains the actual knots of the rugs and soil and dirt adhere to these knots much faster than on a regular pile, or thicker rug. For this reason, it is important to clean flatweave rugs when they become soiled or stained, as this will avoid permanent stains.
Depending on the actual material content of a flatweave rug, you may use a soap and water solution, or some other cleaning agent safe for use on the rug. Wool rugs are simply cleaned with mild soap and water, whereas nylon rugs need a different cleaning solution. While the soap and water solution is perhaps the safest method of cleaning, other cleaning agents may also be safe depending on what they are. To be sure of safety to your rug, it is best to first spot clean a very small area to make sure their is no negative reaction. After being cleaned, most flatweave rugs air dry and are then ready to be used again.
Flatweave rugs offer a very charming look on any floor, so it is important to care for them. Like with most items, if properly cared for, flatweave rugs can last for several years. It is simple to care for these types of rugs with simple cleaning, keeping them as flat as possible on the floor and using a quality rug pad. With proper knowledge of caring for flatweave rugs, their addition can prove to be timeless to any room and decor.

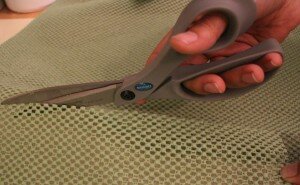
 will get your home ready for the holiday! What better way to welcome overnight guests than with some lovely holiday throw pillows? These throw pillows are so easy to make and can easily be changed out depending on the season; it’s also a great way to give your old throw pillows a make-over. Check out our step-by-step instructions on how to DIY some festive holiday pillows!
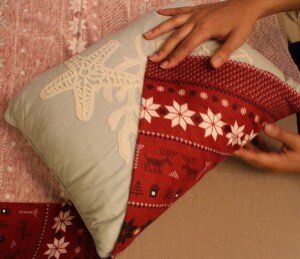

 Once both sides were pulled to the top of the pillow, you tie off the center. I used a double knot to make sure the fabric would be secured to the pillow. If you have excess fabric sticking out of your double knot you can leave it as is or tuck the excess fabric underneath the fold so it is no longer visible. Repeat all of step two for all of your throw pillows and you have a new set of holiday pillows!
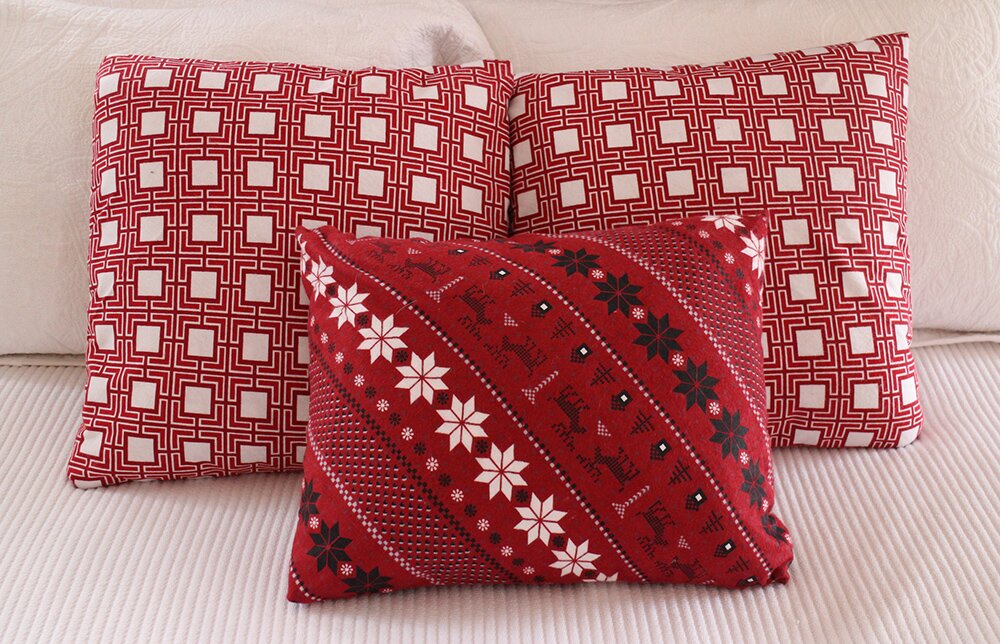
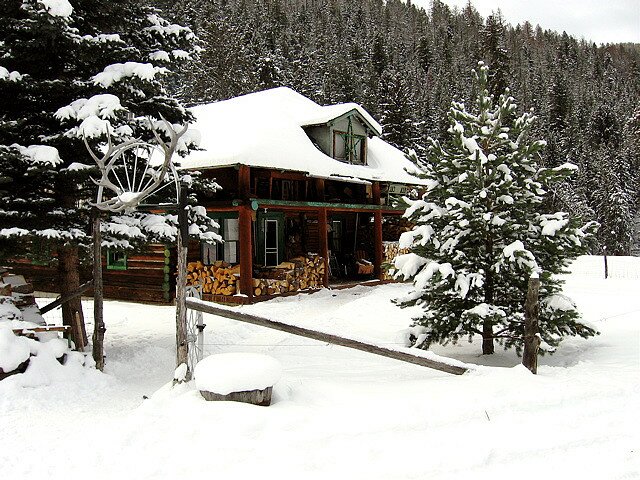
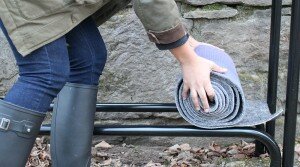
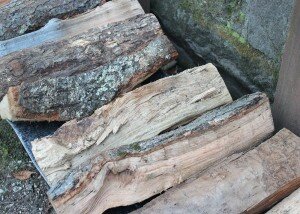 Working for Rug Pad Corner, I always have rug pads on my mind! I came up with the idea to use our Ultra Premium rug pads to protect my wood from the elements. I simply measured the area of the base of my log rack and cut two Ultra Premium rug pads to fit the area. For the bottom of the log rack I rolled out one of the Ultra Premium rug pads with the purple side facing down. Next, I stacked my firewood on top of the rug pad. The Ultra Premium was perfect because the felt side secured the firewood in place and will absorb any moisture. Once I was done stacking my firewood, I rolled out the second Ultra Premium rug pad on top of the stacked wood with the purple side facing up. The purple side is great for deflecting water and will help to keep any snow or rain from soaking my wood. Next I placed my existing log rack cover back over the wood. The Ultra Premium pad is great for keeping my existing cover in place and providing added protection from inclement weather. Since I winterized my firewood rack, it’s been put to the test with several rainstorms and a snow storm; my firewood has been completely protected from the elements, ready to keep me warm all winter long!
 plastic! That is when I started to experiment with rug pad scrap to see if I could find a subtle way to insulate my windows without taking away from the overall look of my house. I realized by using our Superior rug pads to seal the seams of our windows, I could reduce the amount of heat that escaped through the windows and ultimately save a lot on my heating bill.

 Step Three: Measure and Cut Your Super Hold Rug Pad

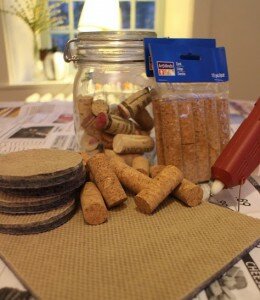
 Wine Cork Hot Pad
 and spacing of the corks, it is time to start gluing. Glue the flat side of each cork to the furniture gripper. Remember to glue your corks to the tan side of the furniture gripper that way if there are any gaps in the pattern the tan will blend in with the color of the corks. Once you are all done gluing each cork to the furniture gripper, simply set aside to dry and start on your wine cork coasters!
 Next, I arranged my coasters into the shape I wanted. I chose to create hexagonal shape because it was easier to create this shape and gave my coasters a unique design. To make one hexagon I glued together 1 row of 5 corks, 2 rows of 4 corks, and 2 rows of 3 corks. If you want to make your life easier, glue all the rows you need before gluing them all together. So for four coasters you would need 4 rows of 5 corks, 8 rows of 4 corks, and 8 rows of 3 corks. Once you have created all your rows you can start gluing each row together to form a hexagon. I started with the smallest row, the row of 3 corks, and worked my way in. The row of 5 corks should be your center row. For a more visual explanation of how to arrange each row, check out the D.I.Y video we’ve created for you!
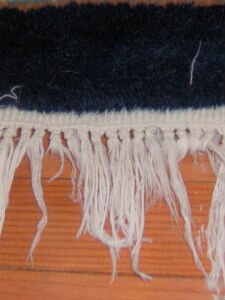
 Since they are the every end of the rug, fringes are most exposed to dirt and soil and can easily become and look dirty much sooner than the rest of your rug. If you find the need to spot clean your fringe, you should only use a safe method, such as mild liquid detergent and water. Combine the two, swirl them around and use the suds from this solution to scrub onto the soiled fringe. What you do not want to do is to use bleach or any harsh cleaners, as these will weaken the fringe and cause it to fray, shred or disintegrate.
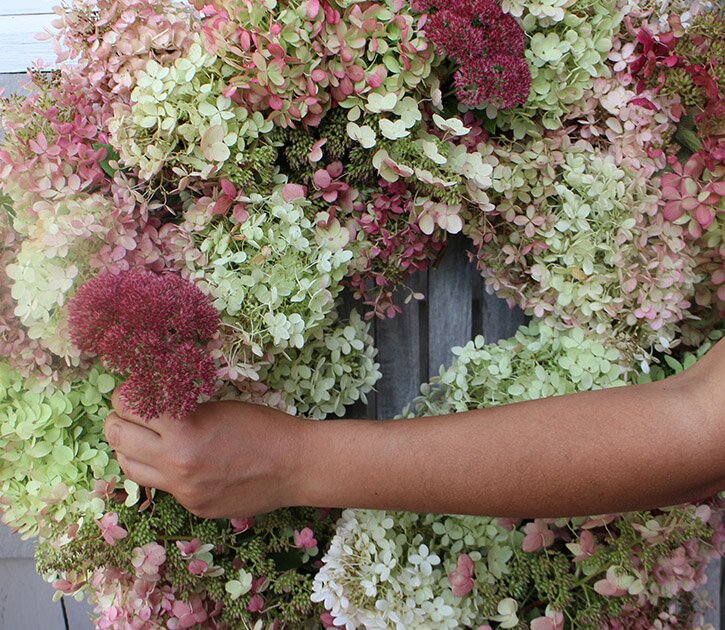

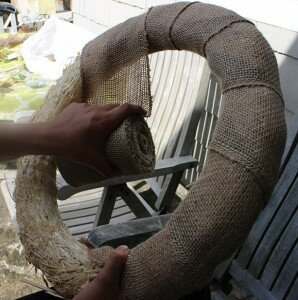 Step Two: Prune Flowers and Prep the Wreath
 Step Four: Add Accents and Display
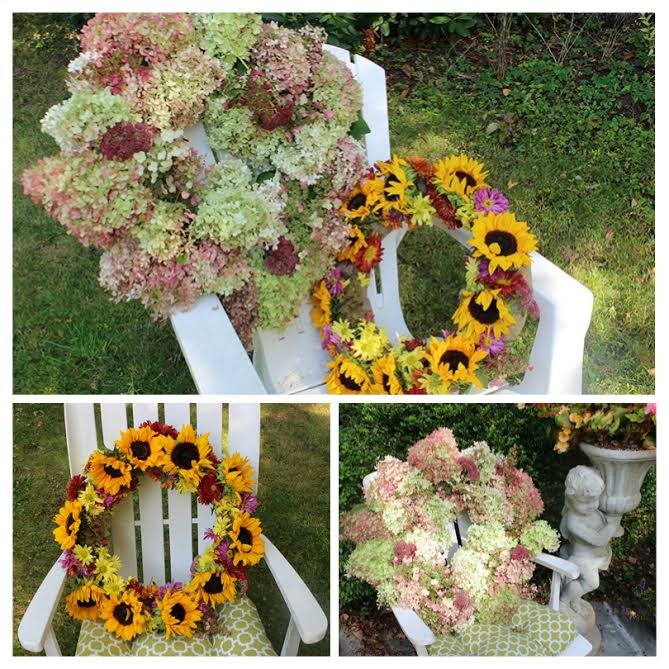
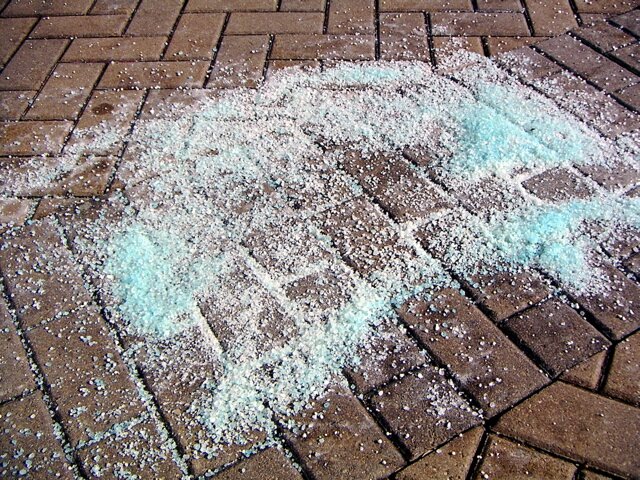
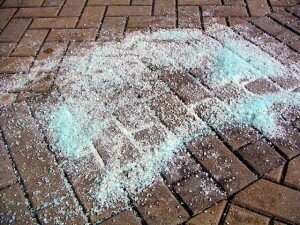 Winter months in some parts of the world are accompanied by snow, salt and sand. It is inevitable that some of this will be transferred onto your floors from the outdoors, so take care to notice any of this before it leads to significant buildup. Depending on the weather conditions of where you live, try to make a habit to routinely check your floors for any loose salt or sand. These particles can easily be pushed into your floors to cause irreversible damage, such as light or deep scratches.
 Many times, sand and salt go unnoticed in our rugs and carpet. The pile can hide this from our sight, yet this debris can cause plenty of wear, damage and soiling. That said, it is always best to perform a routine vacuuming of any area rugs or carpeting you may have in your home. Here, a vacuum with a beater brush is acceptable, since there is nothing that can be scratched. It is very important that the vacuum be powerful enough to be able to extract any fine dust, dirt or sand from the base or foundation of the rugs or carpets.
 Latex Sprayed to the Back of Rugs
 How to Remove Latex Stuck to Floor
 One of our customers explains that while living in his Brooklyn, NY residence, he would notice echoes in each room. Through some online research, he discovered that placing floor coverings, such as carpets or area rugs, on the floor would help dampen the noise. So, he measured each room full of hardwood floors and purchased several area rugs that did not fill the entire rooms, yet filled a major portion of each room. These area rugs definitely helped with the echoes, as they seemed to absorb much of the sound. While the rugs seemed to have helped insulate the room against this noise, he did still encounter times of echoes, so he pursued the issue even more.


